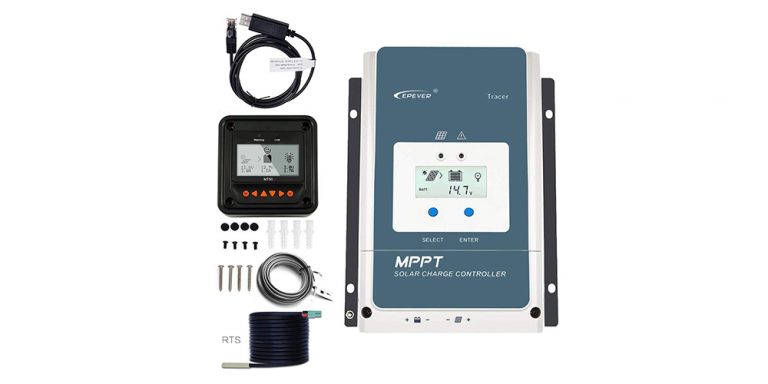
You know what a solar charge controller is. You know what it does. You know its importance. But do you know how to install a solar charge controller?
A solar charge controller is very important yet a lot of people underestimate its relevance.
For those of you who have no idea of what a solar charge controller is, it is simply a voltage regulator that protects the battery from damage, that is, from overcharging and undercharging.
You need to acquire a solar charge controller that is reliable, efficient, and highly functional. Do not by an inexpensive solar charge controller because it could develop damages in the long run and the money spent on maintenance could be way more than purchasing a new one.
Don’t take that risk.
This is why you must get a solar charge controller from the right manufacturer and choose an MPT controller over a PMW one because it’s more functional, reliable, and sophisticated.
The EPever MPPT solar charge controller is highly recommended. It is manufactured under strict and reliable procedures and has a lot of features that will help you get value for your money.
Without further ado, let’s look at how to install a solar charge controller like a pro.
Here’s how to install a solar charge Controller
For those wondering why people prefer MPPT to PMW controllers, the reason is simple. The PMW solar charge controller runs on Pulse Width Modulation Control mode.
Now, this mode solves the issue of battery dissatisfaction and has a charging conversion efficiency of about 70 to 80%, but the problem now is, will the solar panel be used fully?
The MPPT solar panel is an upgraded version of the PMW. It indicates the currents and voltages of solar panels and carefully monitors their maximum power. Therefore, your battery will always be charged with maximum power.
The tracking efficiency is as high as 99%.
Processes on how to install a solar charge Controller
Pre-wiring stage
Before you wire, take off the cover and loosen the lock. When you do that, you will see wiring terminals for solar panel, battery, temperature sensor, load, etc.
Connect batteries to the controller
All you need to do is to ensure that the positive and negative sides of the controller are connected to the battery appropriate. It should be connected in series. However, please do not disconnect the circuit breaker
DC load
The terminal for DC load on the solar charge controller should be connected to the DC load, provided that it has the same voltage as the battery.
This is important because the controller gives the power depending on the battery voltage.
Time for the PV panel module
When you’re connecting the PV module to the charge controller, please do not disconnect the circuit breaker. The system voltage must be higher than the system voltage.
PC connection and temperature sensor.
The MPPT controller can be connected to the temperature sensor and PC through a communication line.
So, this is how to install a solar charge controller, ladies and gentlemen.